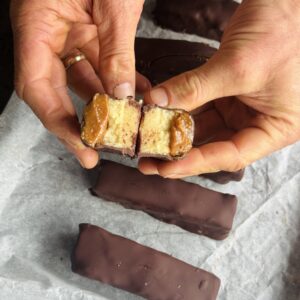
Homemade Rice Koji (with Dehydrator)
Koji is steamed rice inoculated with a friendly mould that transforms starches and proteins into natural sweetness, depth, and umami. It's traditionally used in Japanese kitchens for miso, sake, soy sauce, and amazake, and we've wanted to try making it for ages! It’s a flavour powerhouse that adds complexity to ferments, marinades, and works brilliant in plant-based dishes. Making your own is simple with a dehydrator, and it opens up endless possibilities in the kitchen.
Takes 3 days
Serves 1
Ingredients
- 1 kg approx. 5 cups Short-grain white rice
- 2 litres approx. 8.5 cups Water for washing/soaking and steaming 1 g (¼ tsp) Koji spores (Aspergillus oryzae)
- 30 ml 2 tbsp Cooled, boiled water for the spore slurry
- 20 g 2 ½ tbsp Rice flour (optional, for dusting)
Instructions
Soak & wash the rice (8–12 hours)
- Rinse 1 kg rice in several changes of water (about 1–1.5 litres / 4–6 cups) until nearly clear. Soak the rice in fresh water (approx. 1 litre / 4 cups) for 8–12 hours at cool room temperature. Drain thoroughly in a sieve for 30–60 minutes to remove surface moisture.
Steam the rice (45–60 minutes)
- Set up a steamer and line the tray with muslin to prevent sticking. Steam the drained rice over brisk steam for 45–60 minutes, until the grains are tender but not mushy. Top up water in the steamer as needed from your 1.5–2 litre (6–8 cup) total.
Cool to inoculation temperature (20–30 minutes)
- Spread the steamed rice on a clean tray in a 2–3 cm layer. Fan and fluff until the rice reaches 30–32°C—warm to the touch, not hot.
Make the spore slurry (2 minutes)
- In a sanitised cup, whisk 1 g koji spores into 30 ml cooled, boiled water (2 tbsp). If using, mix in 20 g rice flour to help even distribution.
Inoculate evenly (3–5 minutes)
- Sprinkle or drizzle the entire 30 ml slurry over the warm rice, tossing and breaking clumps with sanitised hands until evenly coated.
Set up the incubator (5–10 minutes)
- Line dehydrator trays with baking paper or muslin. Spread the inoculated rice 2–3 cm thick. Place trays in a dehydrator set to 30–32°C. For humidity, place a shallow tray of hot water (about 250 ml / 1 cup) at the base, or cover the rice loosely with perforated cling film/muslin to prevent drying while allowing airflow.
First-stage incubation (0–18 hours)
- Hold at 30–32°C with gentle airflow. After 12–18 hours, fine white filaments should appear. If edges look dry, mist lightly with cooled, boiled water (a few teaspoons). Keep the surface just moist, never wet.
Break up & turn (at 18–24 hours)
- At 18–24 hours, gently break up the rice with sanitised hands or a fork to release heat and re-oxygenate. Re-spread to 2–3 cm and maintain 30–32°C.
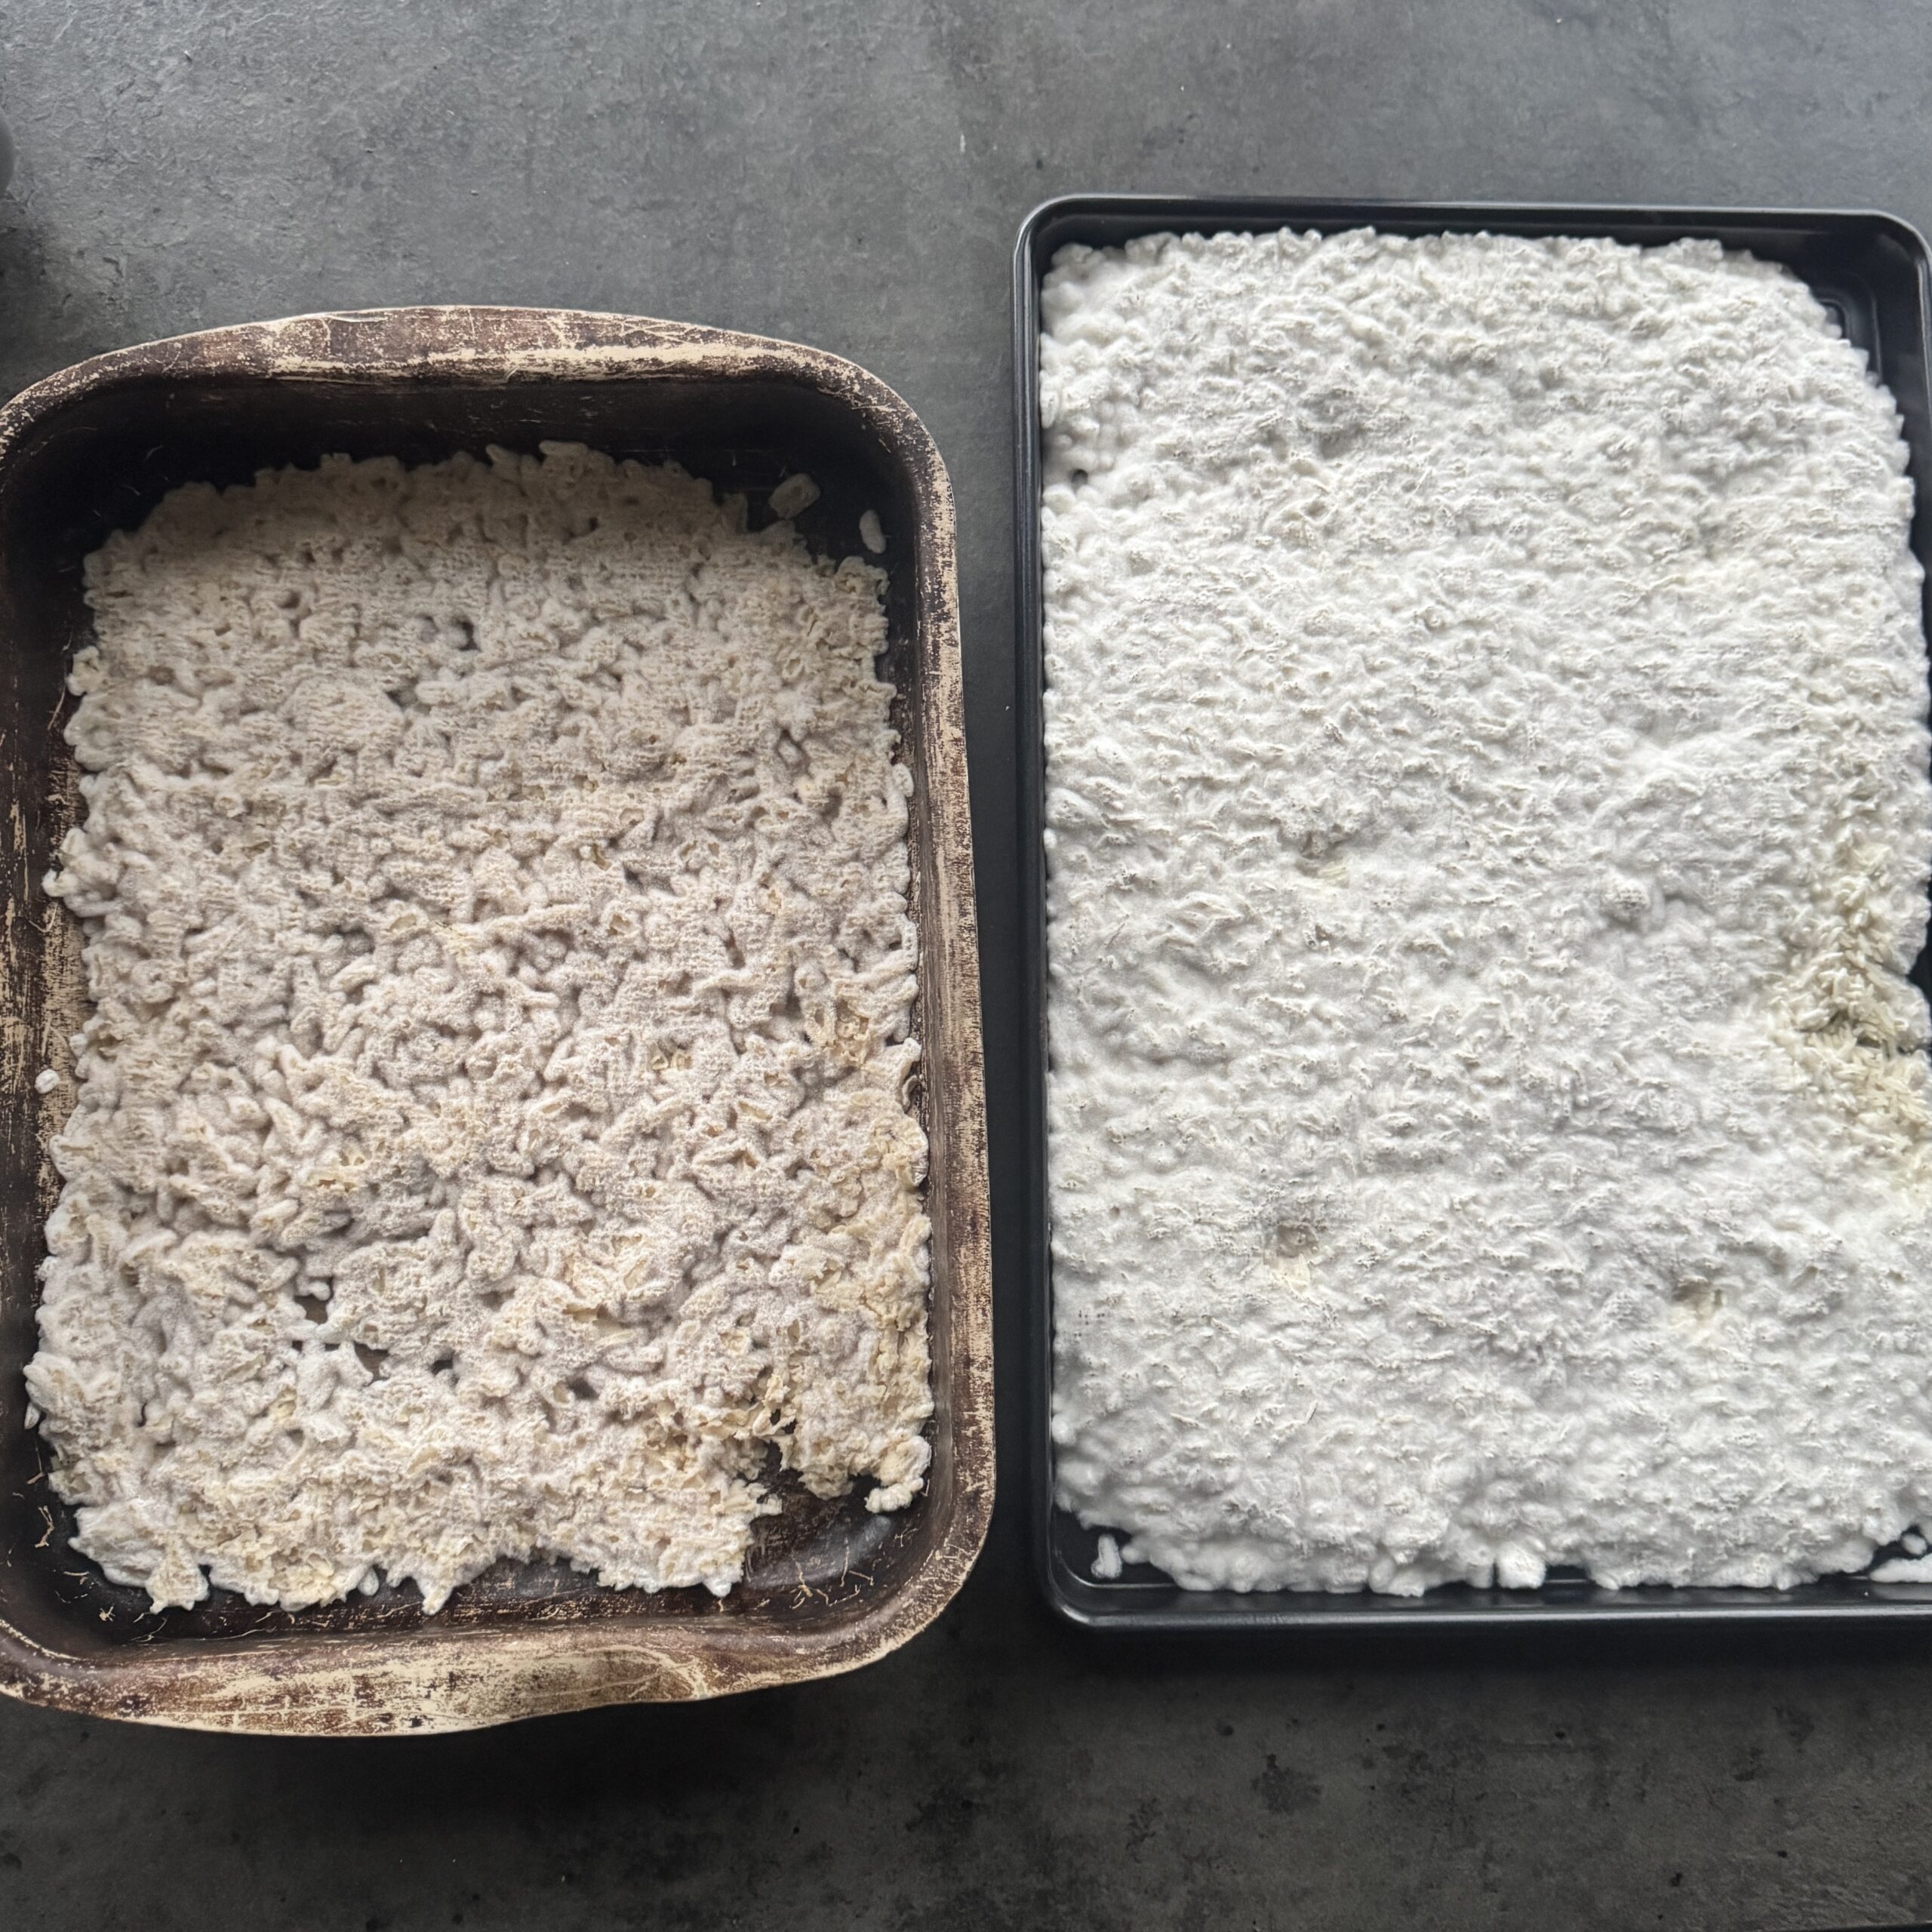
Second-stage incubation (to 40–48 hours total)
- Continue for a further 20–24 hours. Turn once more at 30–36 hours. The koji is ready at 40–48 hours: grains should be snow-white with a sweet chestnut/pear aroma and gentle warmth. If you see green spores, it has gone too far—harvest sooner next time.
Stop growth & chill (30 minutes)
- Spread the finished koji on trays and cool in front of a fan for 10 minutes. Use immediately or refrigerate uncovered for 12 hours to dry slightly. Store in the fridge for up to 1 week, or freeze for up to 3 months in sealed bags.
Safe handling & clean-down (10–15 minutes)
- Wipe all surfaces with boiling water or a food-safe sanitiser. Label the batch with date and weight. Discard any koji that smells sour, musty, or develops non-white growth.
Chef’s Notes & FAQs
- White vs brown rice: Short-grain white rice is ideal—polished grains allow even mycelium penetration and clean flavour. Brown rice can work but is slower and less forgiving.
- Dehydrator vs alternatives: A dehydrator with accurate low-temperature control is ideal. Alternatives include a proofing box, yoghurt-maker chamber, or an oven with just the light on (monitor carefully). Aim for 30–32°C, moderate humidity, and light airflow.