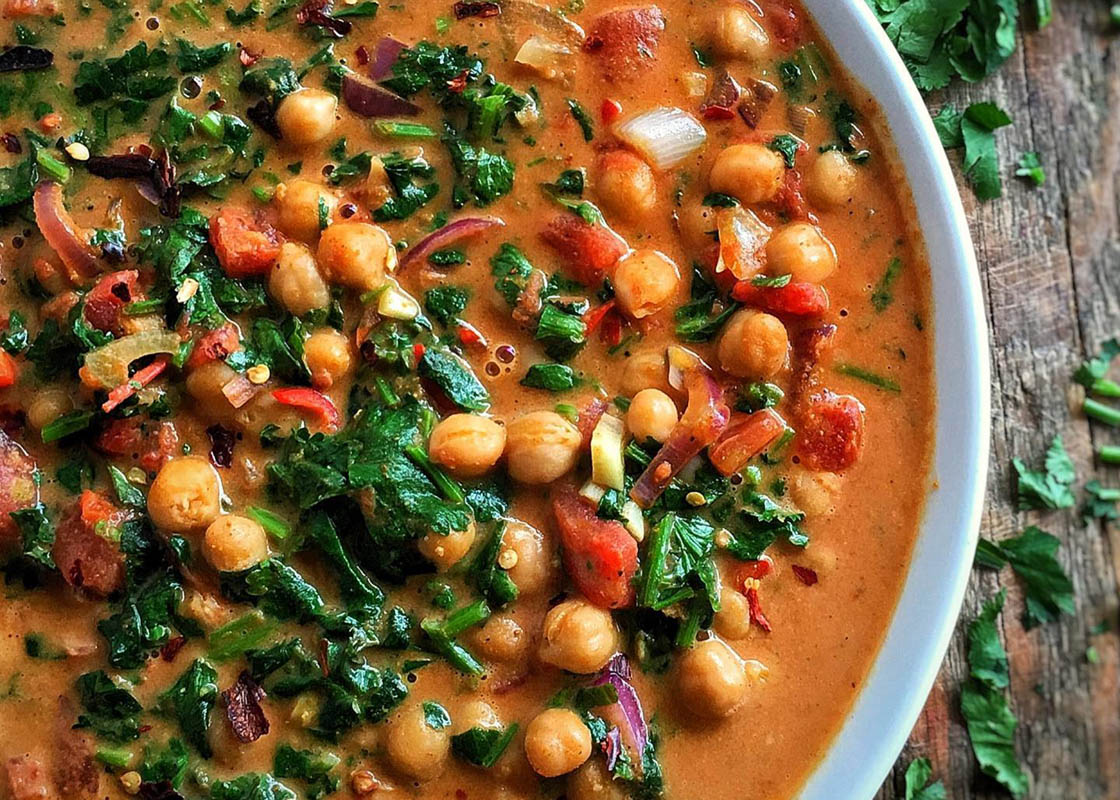
Lacto-Fermented Salsa with Mango
Why ferment salsa? Fermentation enhances flavour, complexity, and acidity—just like in traditional hot sauces. This method naturally preserves the salsa while developing deep, tangy, and slightly spicy notes, along with gut-friendly probiotics.
Takes 6 days 15 minutes
Serves 8
Ingredients
- 5 medium ripe tomatoes diced
- 1 small red onion finely chopped
- 3 garlic cloves minced
- 1 small red chilli or more to taste, finely chopped
- 50 g fresh coriander chopped
- 1 ripe mango diced (optional, for a sweet twist)
- 1 tsp ground cumin optional, for depth of flavour
- 1 tbsp sea salt non-iodised, such as Himalayan or kosher salt
- 100 ml water if needed
- 1 tbsp cumin seeds
- Juice of ½ lemon or 1 lime optional, for added brightness
Instructions
Prepare the Ingredients
- Dice the tomatoes and mango into small chunks.
- Peel and finely chop the red onion.
- Finely dice the chilli and chop the coriander.
- Mince the garlic, then combine all ingredients in a large bowl.
Salt & Pack the Jar
- Weigh the total amount of ingredients and calculate 2% of their weight in salt. (For example, if the ingredients weigh 1kg, use 20g of salt.)
- Mix well and let sit for 10 minutes to release natural juices.
- Pack the salsa tightly into a clean 1-litre jar, pressing down with a spoon to remove air pockets.
- If the mixture isn’t fully submerged in liquid, add a small amount of water.
Fermentation
- Place a small weight (such as a lemon, clean stone, fermentation weight, or small jar) inside the jar to keep the salsa submerged.
- Cover loosely with a fermentation lid or a cloth secured with a rubber band to allow gases to escape.
- Leave at room temperature (18–22°C) for 5–7 days, tasting daily until the desired tanginess develops.
Storage & Serving
- Once fermented to your liking, taste and adjust the seasoning if needed.
- Blend for a smooth texture or leave chunky.
- Seal the jar with a proper lid and store in the fridge, where it will continue developing flavour and last for several months.
- Serve with tacos, burritos, grilled vegetables, nachos, or as a probiotic-rich dip!