Easy Pear and Blackberry Vinegar
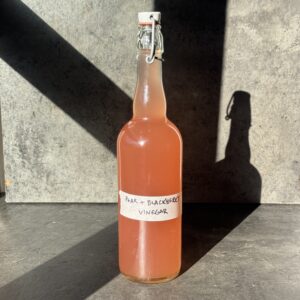
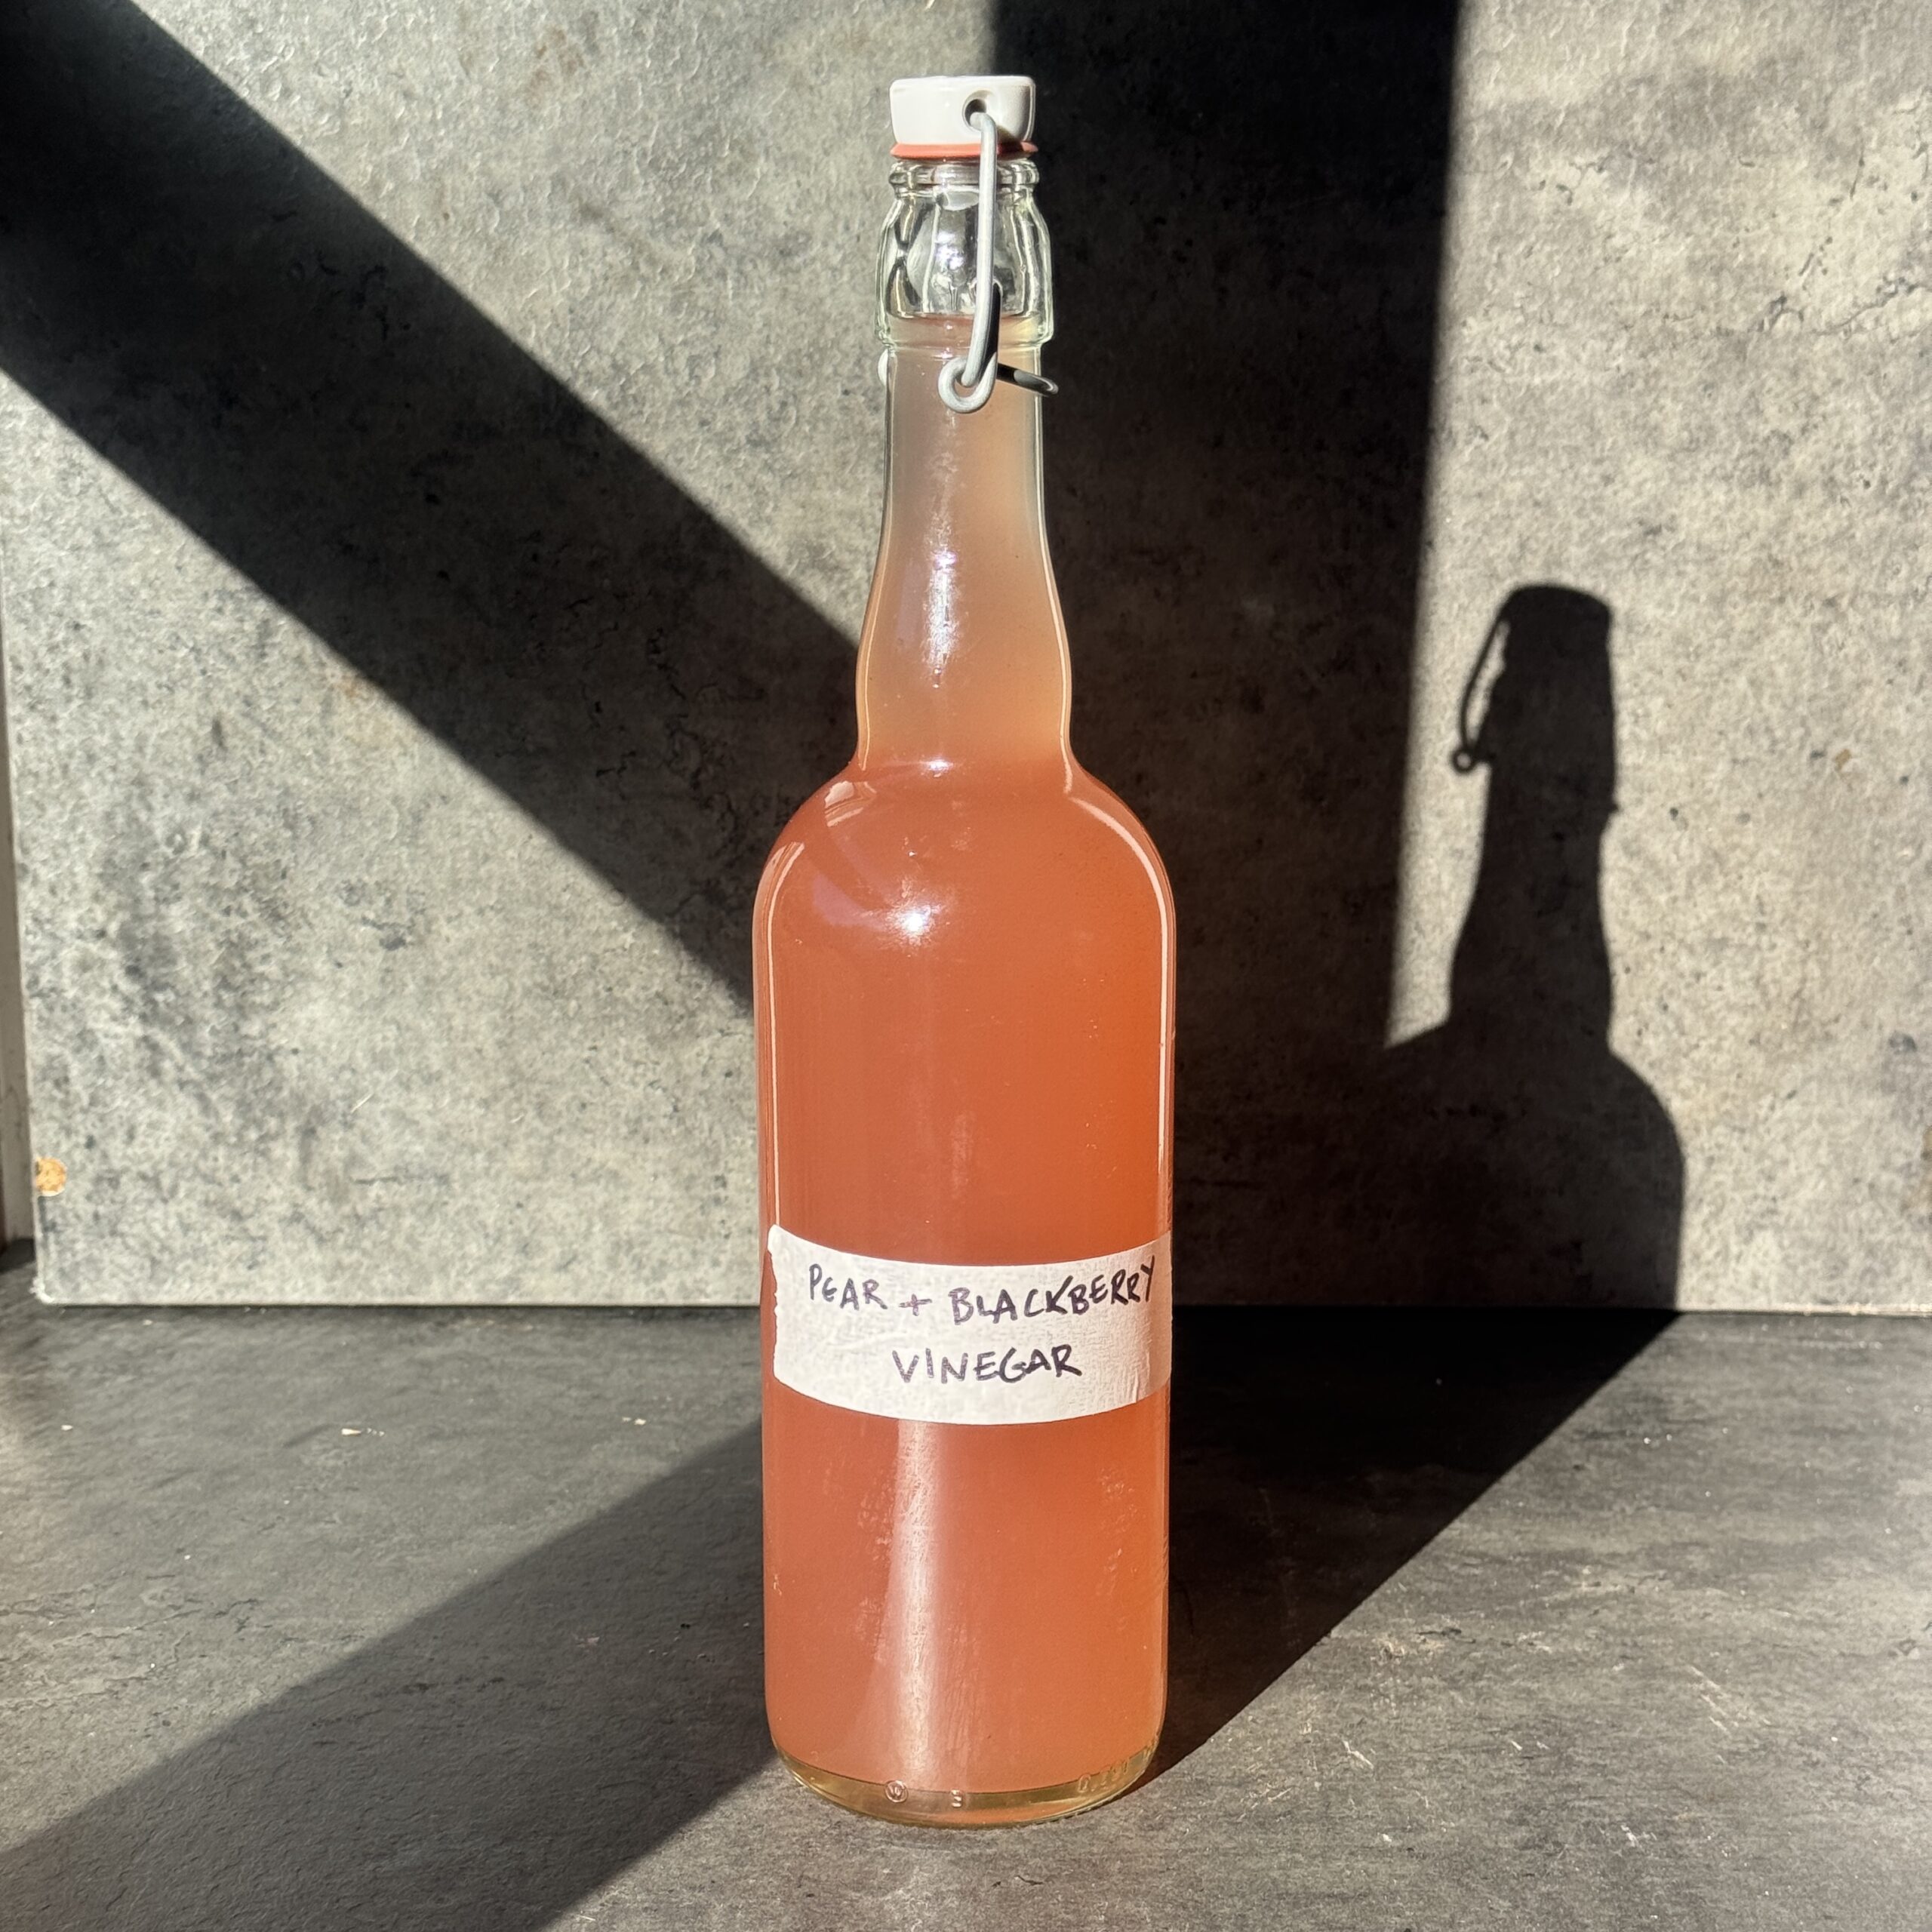
Making your own seasonal pear and blackberry vinegar is a rewarding and eco-friendly way to use up leftover Pears peels and cores and seasonal blackberries, reducing waste and creating nutritious, homemade vinegar in the process. This pear vinegar is packed a tangy depth of flavour that’s perfect for salad dressings, marinades, and more!
Takes
Serves 20
Ingredients
- 3 ripe Pears
- 150 g of blackberries a good handful
- 1 litre water 4 cups
- 100 g white sugar/white sugar ½ cup
- 100 ml apple cider vinegar with mother in it about ⅓ cup
Instructions
- Prepare the Jar: Use a clean, sterilised 1.5-liter glass jar.
- Dissolve the Sugar: In a separate container, dissolve the 100g (½ cup) of sugar in 1 litre (4 cups) of water.
- Add Pear chopped up: Place the chopped pears, pear cores and blackberries in the jar. Make sure they take up about half of the jar, leaving space for the water.
- Pour in the Sugar Water: Pour the sugar water over the pears and blackberies, covering them completely. If any pieces float, place a clean weight or small plate to keep them submerged.
- Cover the Jar: Cover the jar with a breathable cloth (like cheesecloth) and secure it with a rubber band. This allows airflow and keeps dust and bugs out.
- Fermentation: Place the jar in a warm, dark place (around 20-25°C or 68-77°F) for approx 1 week to 10 days. Stir the mixture every couple of days to help with fermentation and prevent mould.
- Strain and Continue Fermenting: After 1 week – 10 days of initial fermentation, strain out the pears and blackberries and return the liquid to the jar. Add in the apple cider vinegar to help guide the next fermentation process and to speed up the process. Cover it again with the cloth and let it ferment for another 3-4 weeks until it reaches the desired acidity.
- Taste Test: After the second fermentation period, taste the vinegar. If it’s tangy enough, it’s ready to use. If not, let it ferment for another week or longer until you reach your desired taste.
- Bottle and Store: Once ready, give it a sieve through some cheese cloth and transfer the vinegar to a clean bottle and seal. Store it in the refrigerator or a cool, dark place and enjoy!